The steps involved in external thermal insulation (ETI)
The comprehensive guide, from planning to completion
External thermal insulation (ETI) is carried out in 10 stages: assessment of the façade, selection of the system, administrative procedures, preparation of the substrate, installation of the starter rail, bonding of the insulation panels, anchoring, treatment of specific areas, reinforced base coat, followed by a primer and finishing coat. Each stage determines the overall performance and durability of the system. In this guide, Centrale ITE details the method, best practices and products required for each phase of the project.

ETI: External thermal insulation
The 10 steps of an EWI installation
Step 1: Assess the façade and define the project
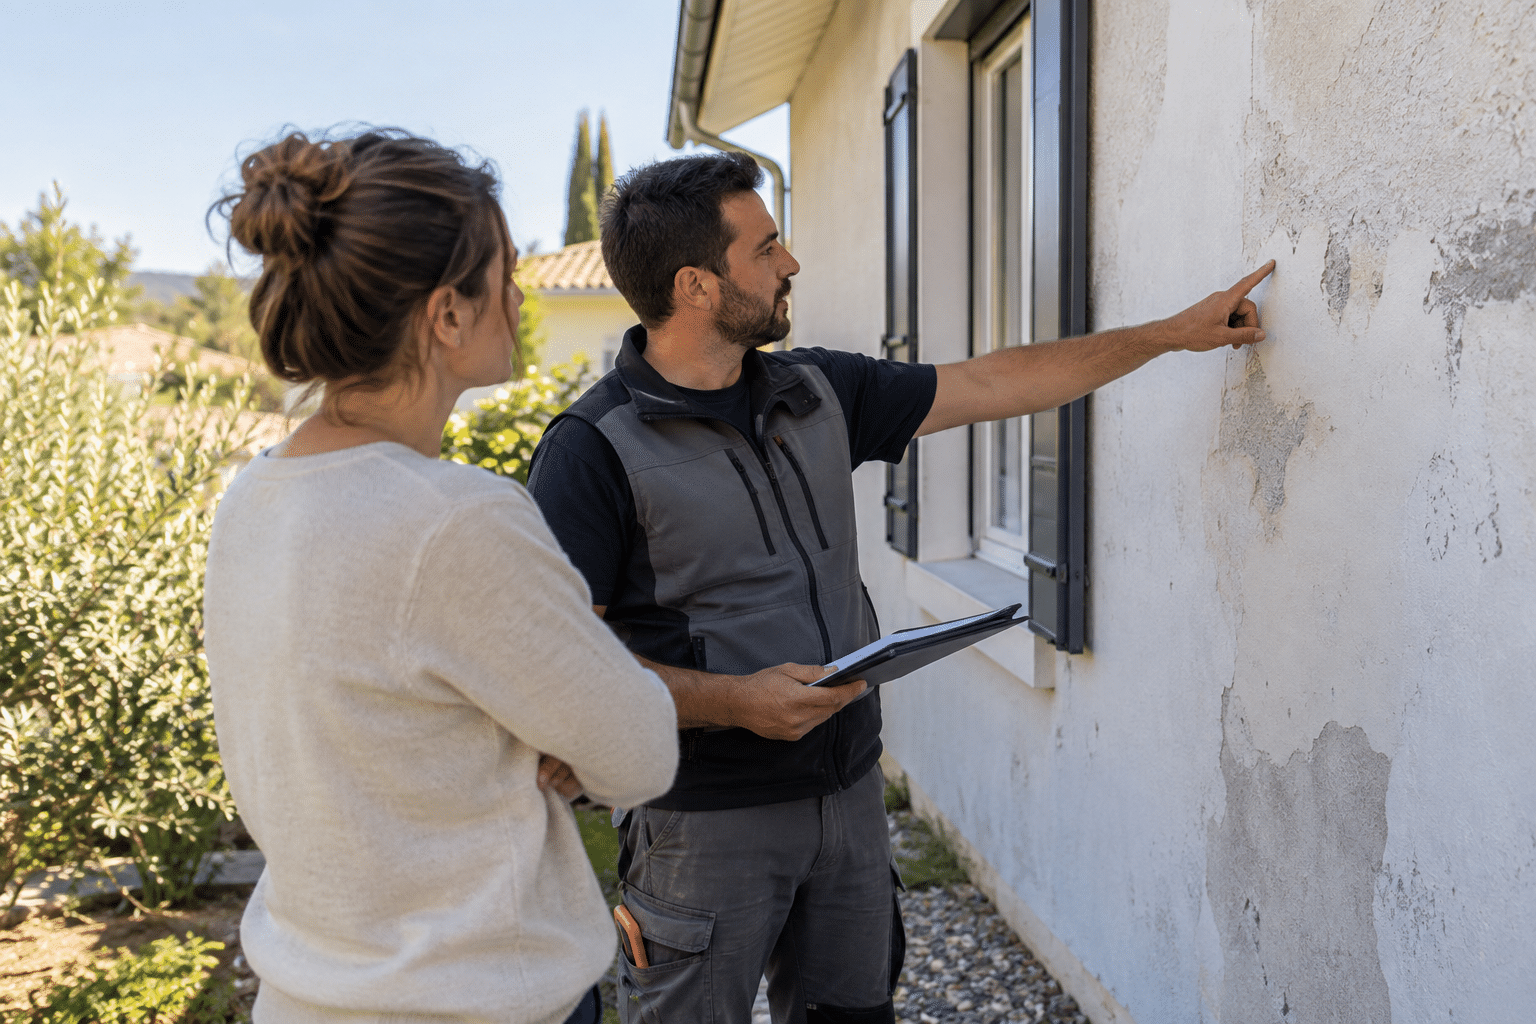
A façade assessment is the first step in an EWI project: it enables us to check that the substrate is suitable for insulation and to set the thermal performance target. The nature of the wall (concrete, aerated concrete blocks, brick, stone, timber frame), its flatness, its condition (cracks, damp, peeling render) and the presence of any elements that need to be relocated – such as rainwater downpipes, shutters, light fittings, air conditioning units. This is also the time to define the target thermal resistance (R-value, expressed in m².K/W), which will determine the thickness of the insulation, and to measure the surface areas to calculate the quantities of materials required.
Step 2: choose the EWI system and the insulation material
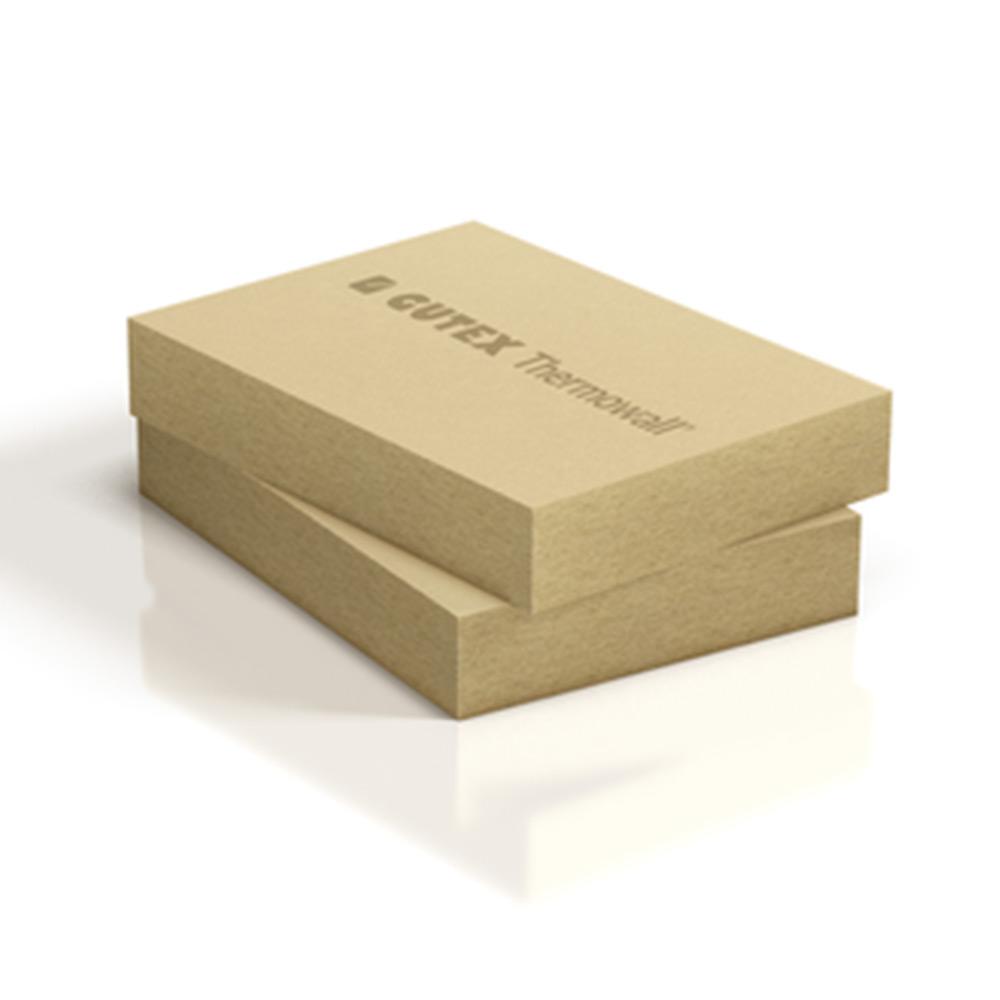
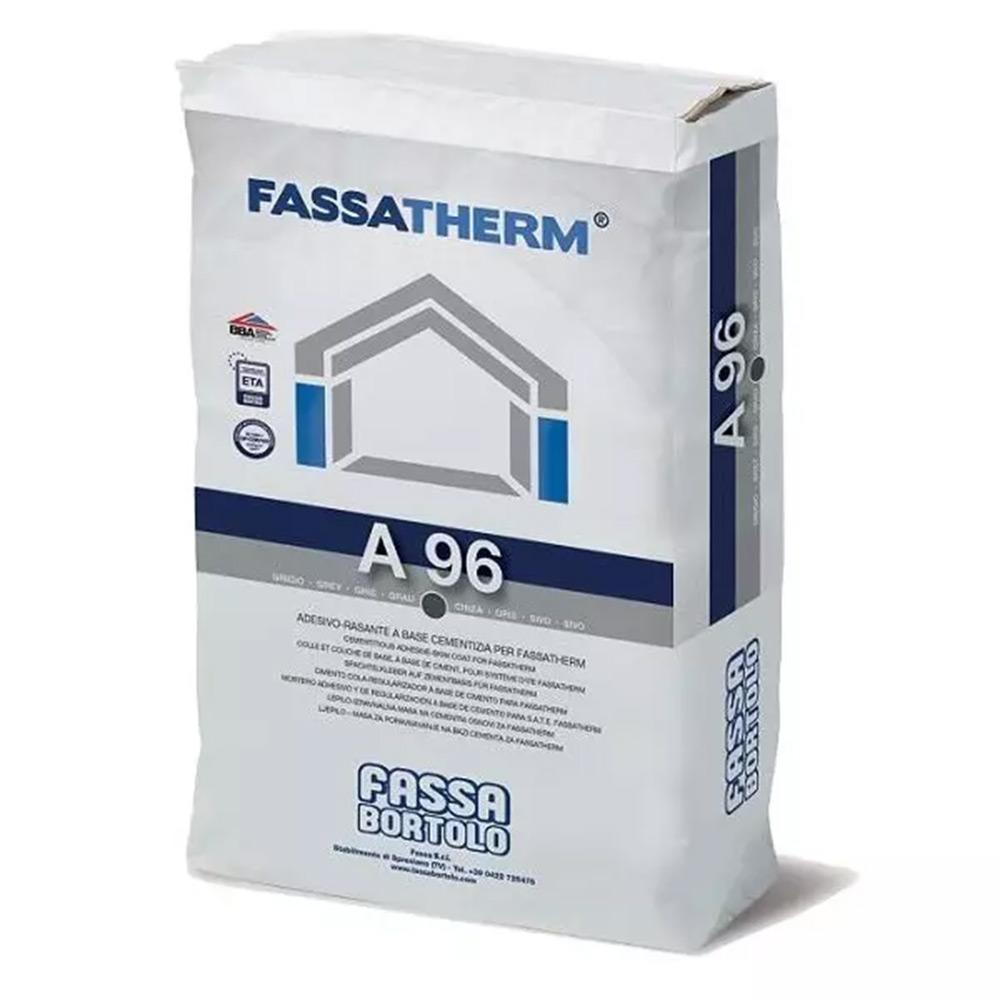
An external thermal insulation system with render is a complete system: the insulation, adhesive, wall plugs, mesh, renders and profiles must be compatible and, ideally, covered by the same Technical Approval or European Technical Assessment (ETA). Mixing products from different systems may invalidate the guarantees.

Step 3: Complete the administrative procedures
ETI alters the external appearance of a building: it generally requires planning permission before work begins. In France, this usually involves submitting a prior declaration of works to the local council; in Belgium and Switzerland, the rules depend on the municipality or canton. You should also bear in mind the co-ownership regulations and any potential encroachment onto public land or neighbouring property.
Financial assistance may be available depending on the country and the household’s circumstances; this is often conditional on using a qualified professional.
Step 4: preparing the site and the substrate
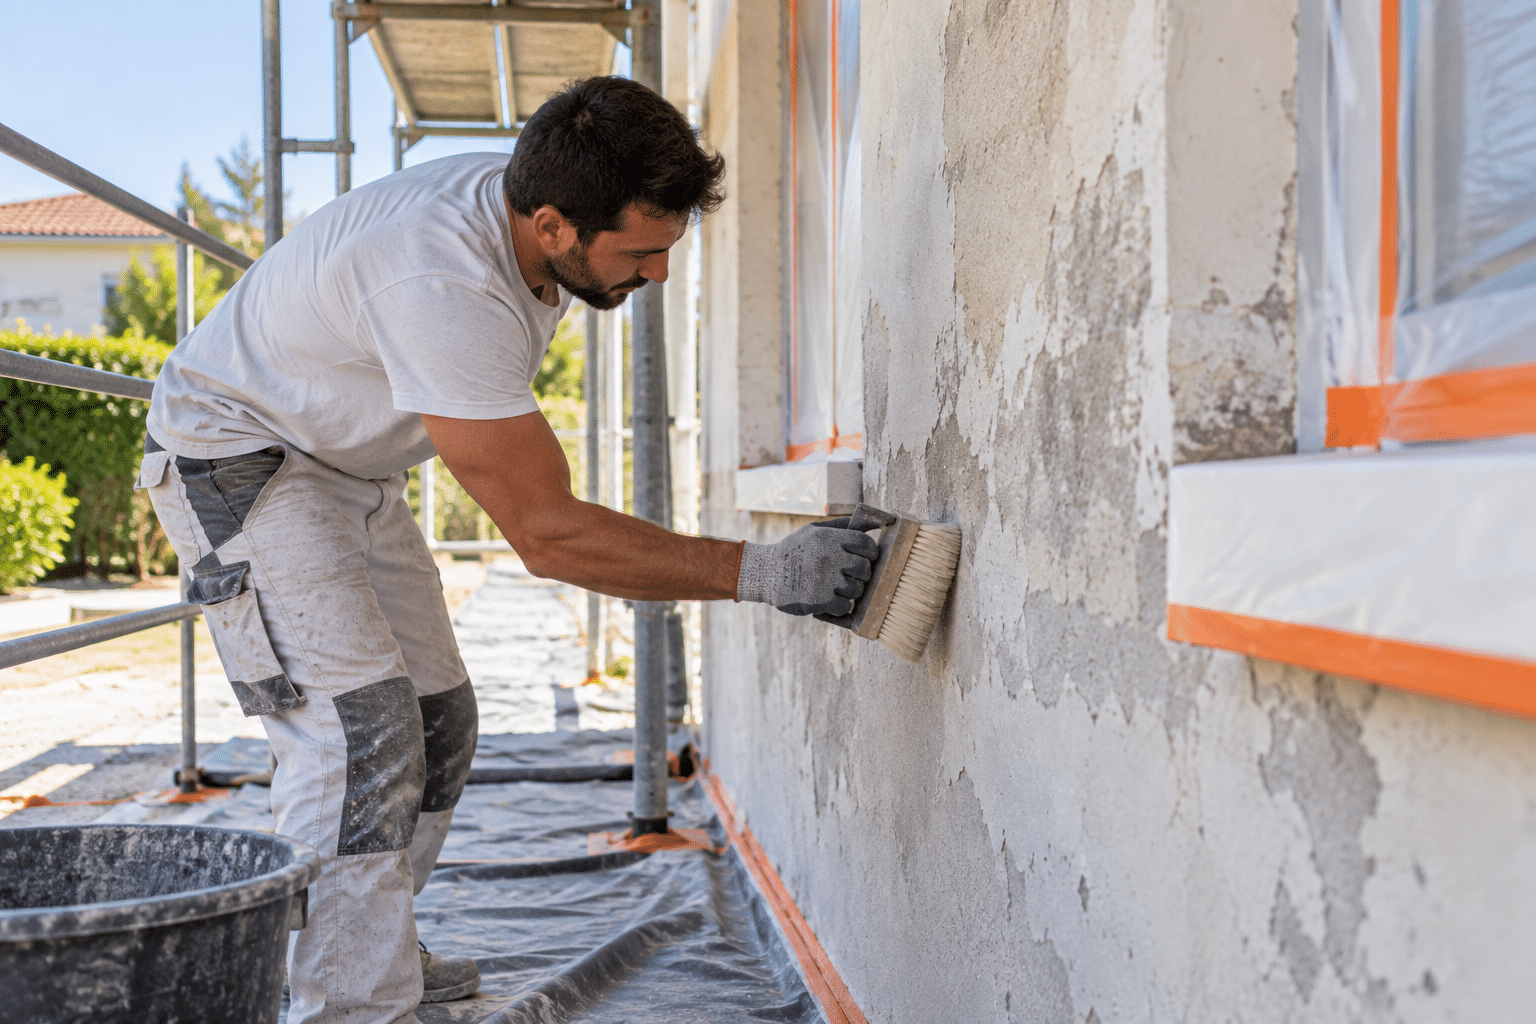
A clean, sound, dry and level surface is essential for EWI to adhere properly. The façade is cleaned (removing moss, dirt and loose sections), cracks are treated, and a bonding primer is applied if the surface is too absorbent or powdery.
• Erect scaffolding and protect window and door frames and the floor
• Remove guttering, shutters and wall lights, and make provision for offset fixings (shutter hinges, heavy-duty brackets)
• Check for flatness: any significant defects must be rectified before the insulation is installed
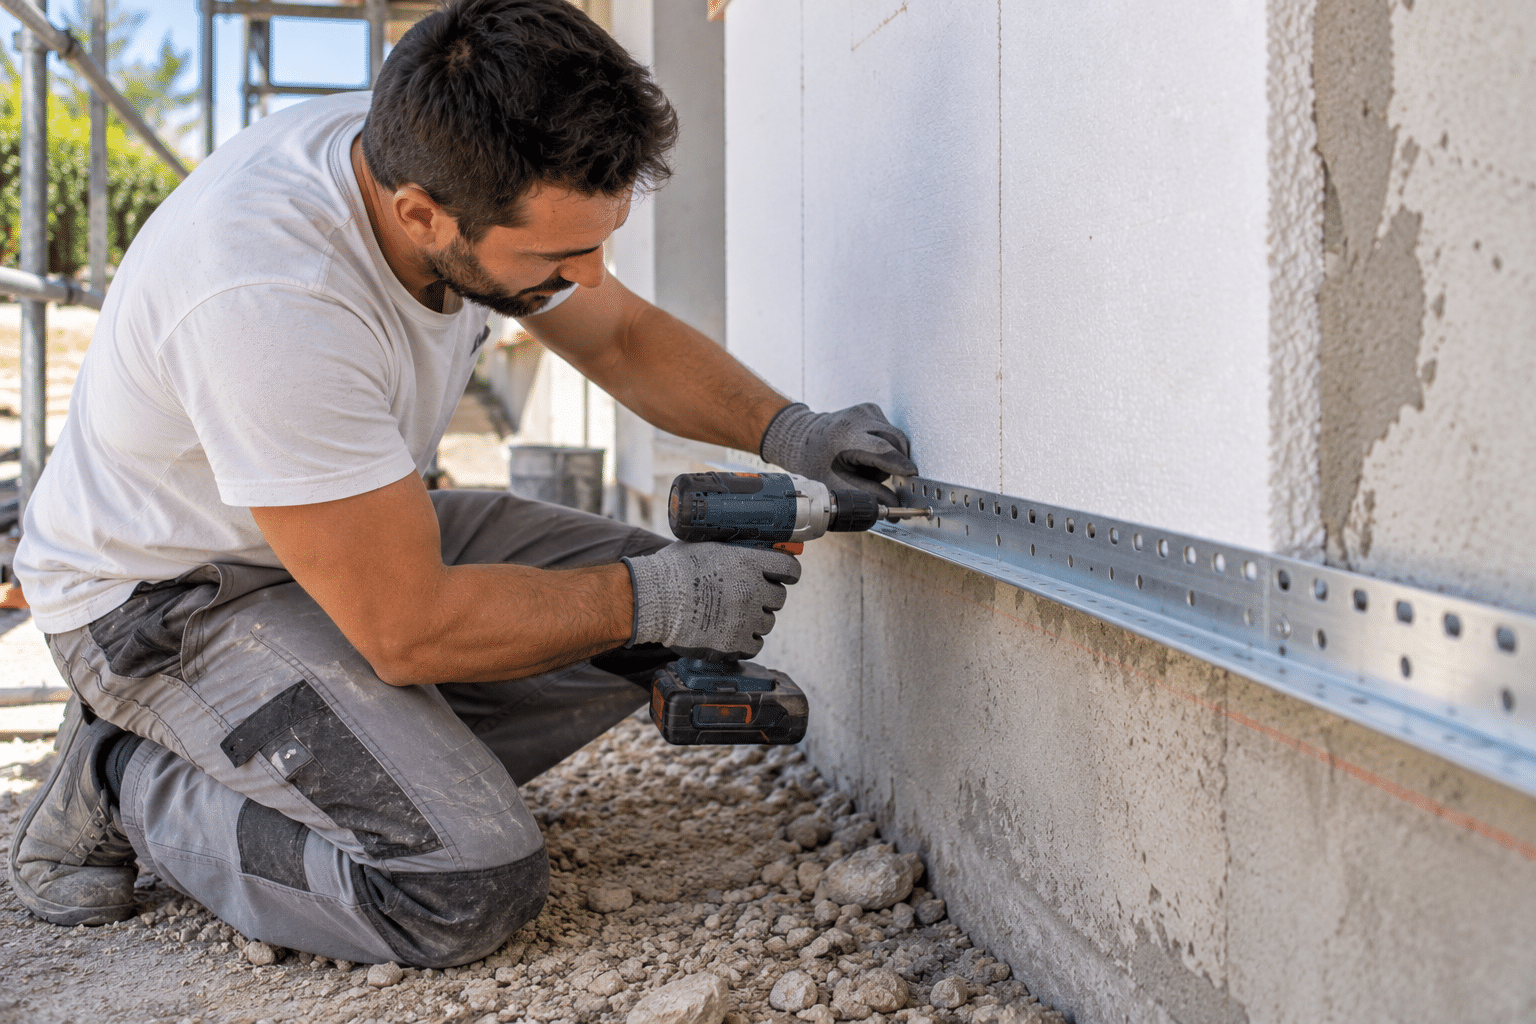
Step 5: fit the starter rail
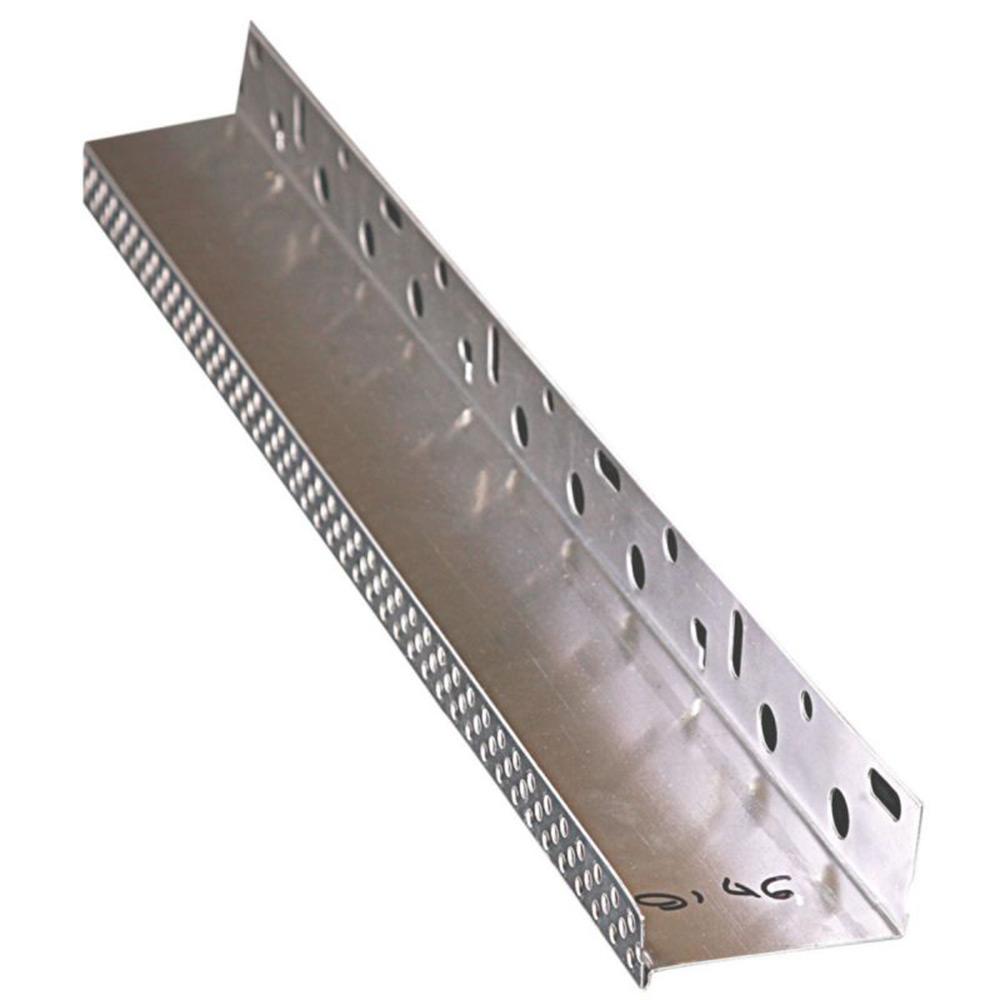
The starter rail is the metal profile fixed to the base of the façade, perfectly level, which supports the first row of panels and protects the bottom of the insulation. Its width corresponds to the thickness of the insulation. It is mechanically fixed to the substrate and joined by splice plates, with a slight expansion gap between two rails.In the lower section, which is exposed to splashes and damp, suitable insulation (for the plinth) is used, along with a specific treatment in accordance with the system’s Technical Approval.
Step 6: bonding the insulation boards
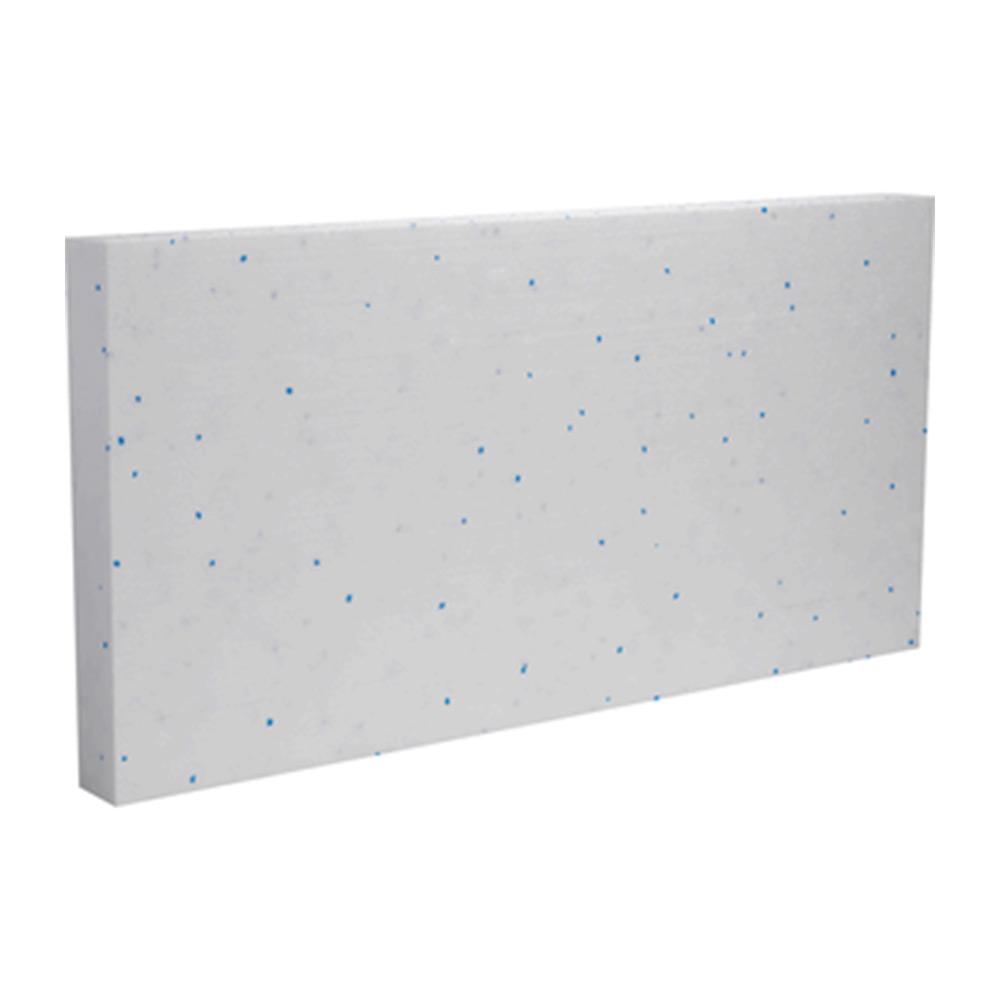
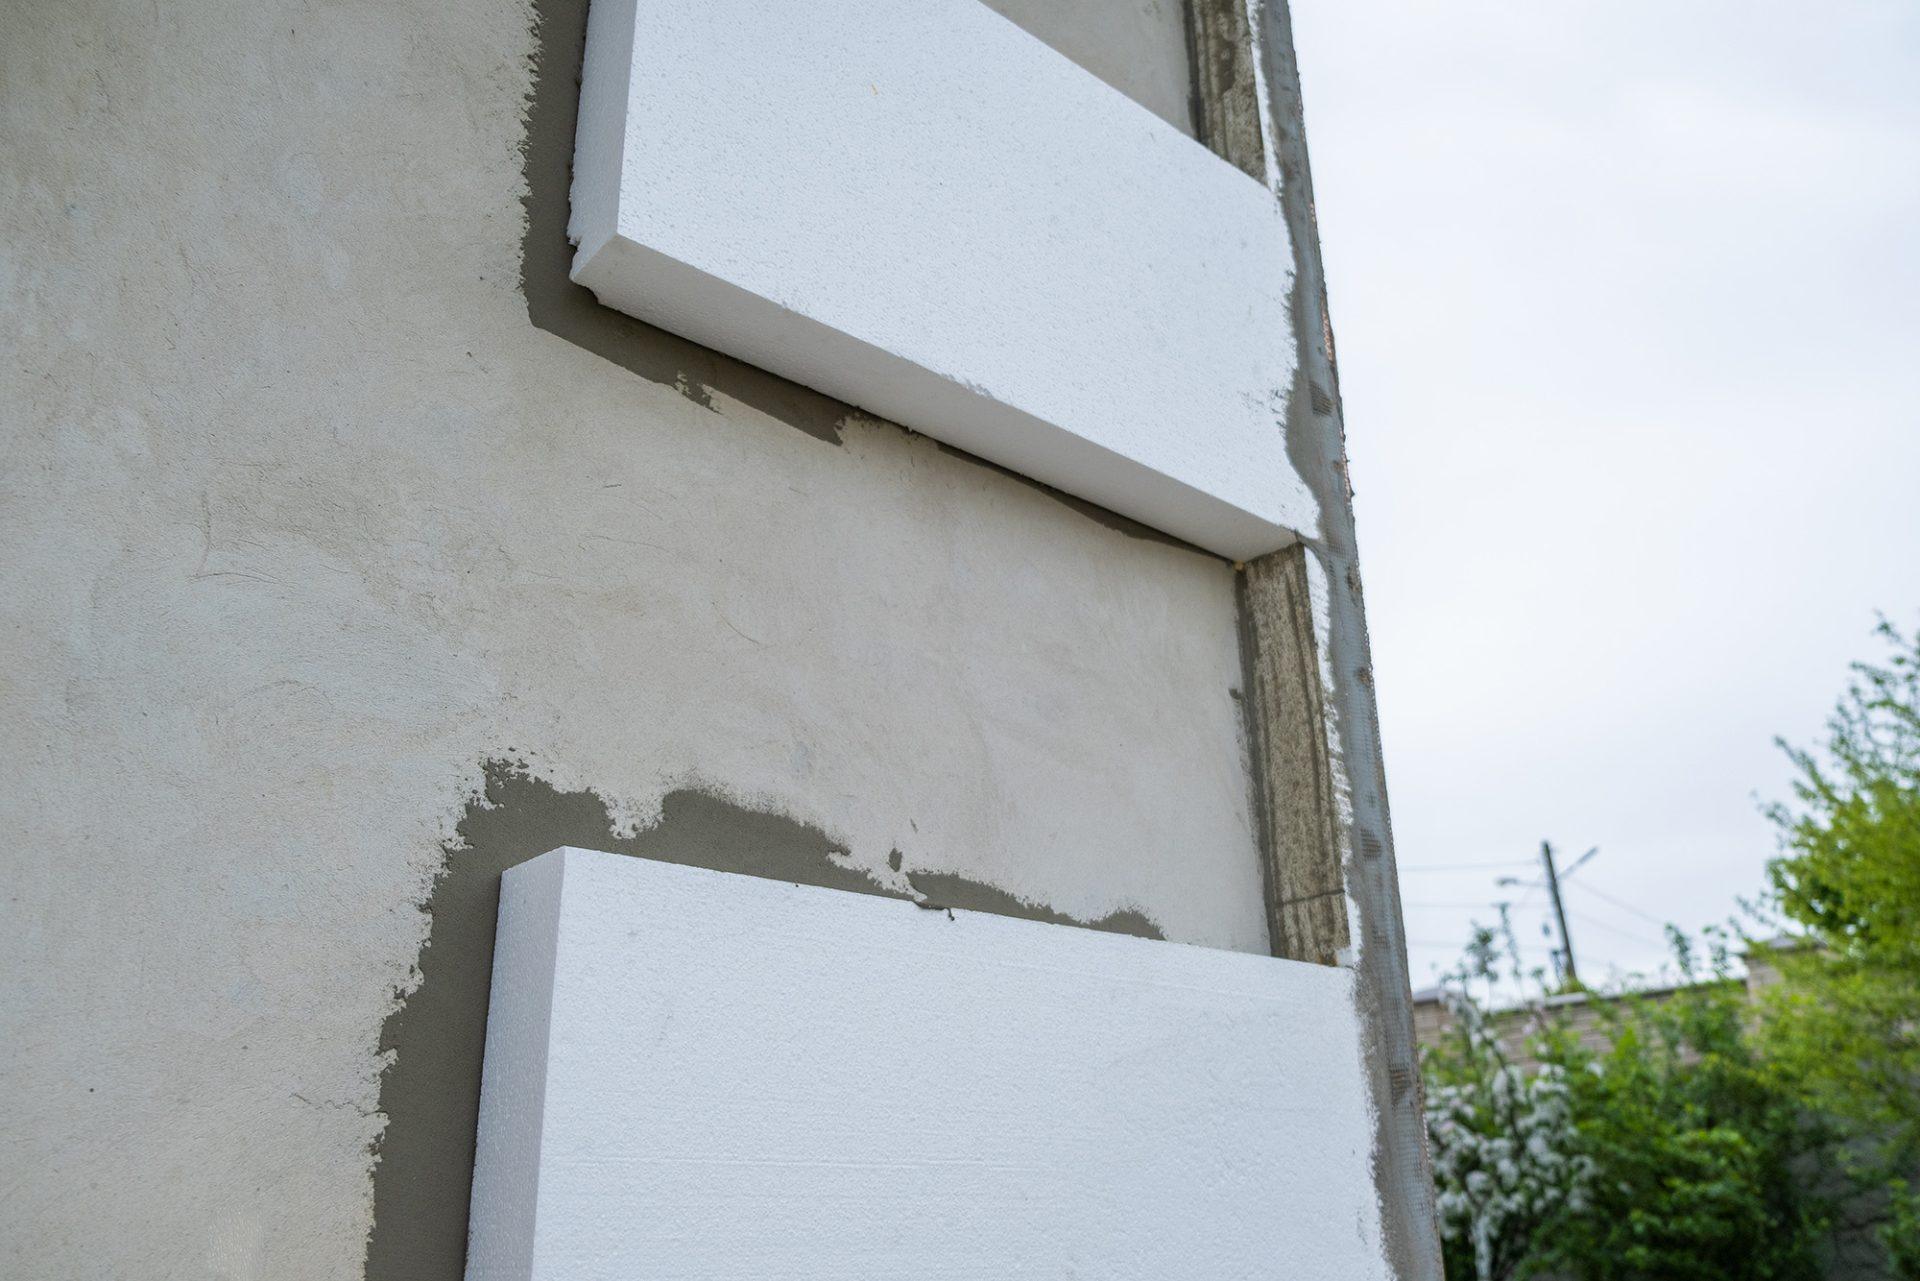
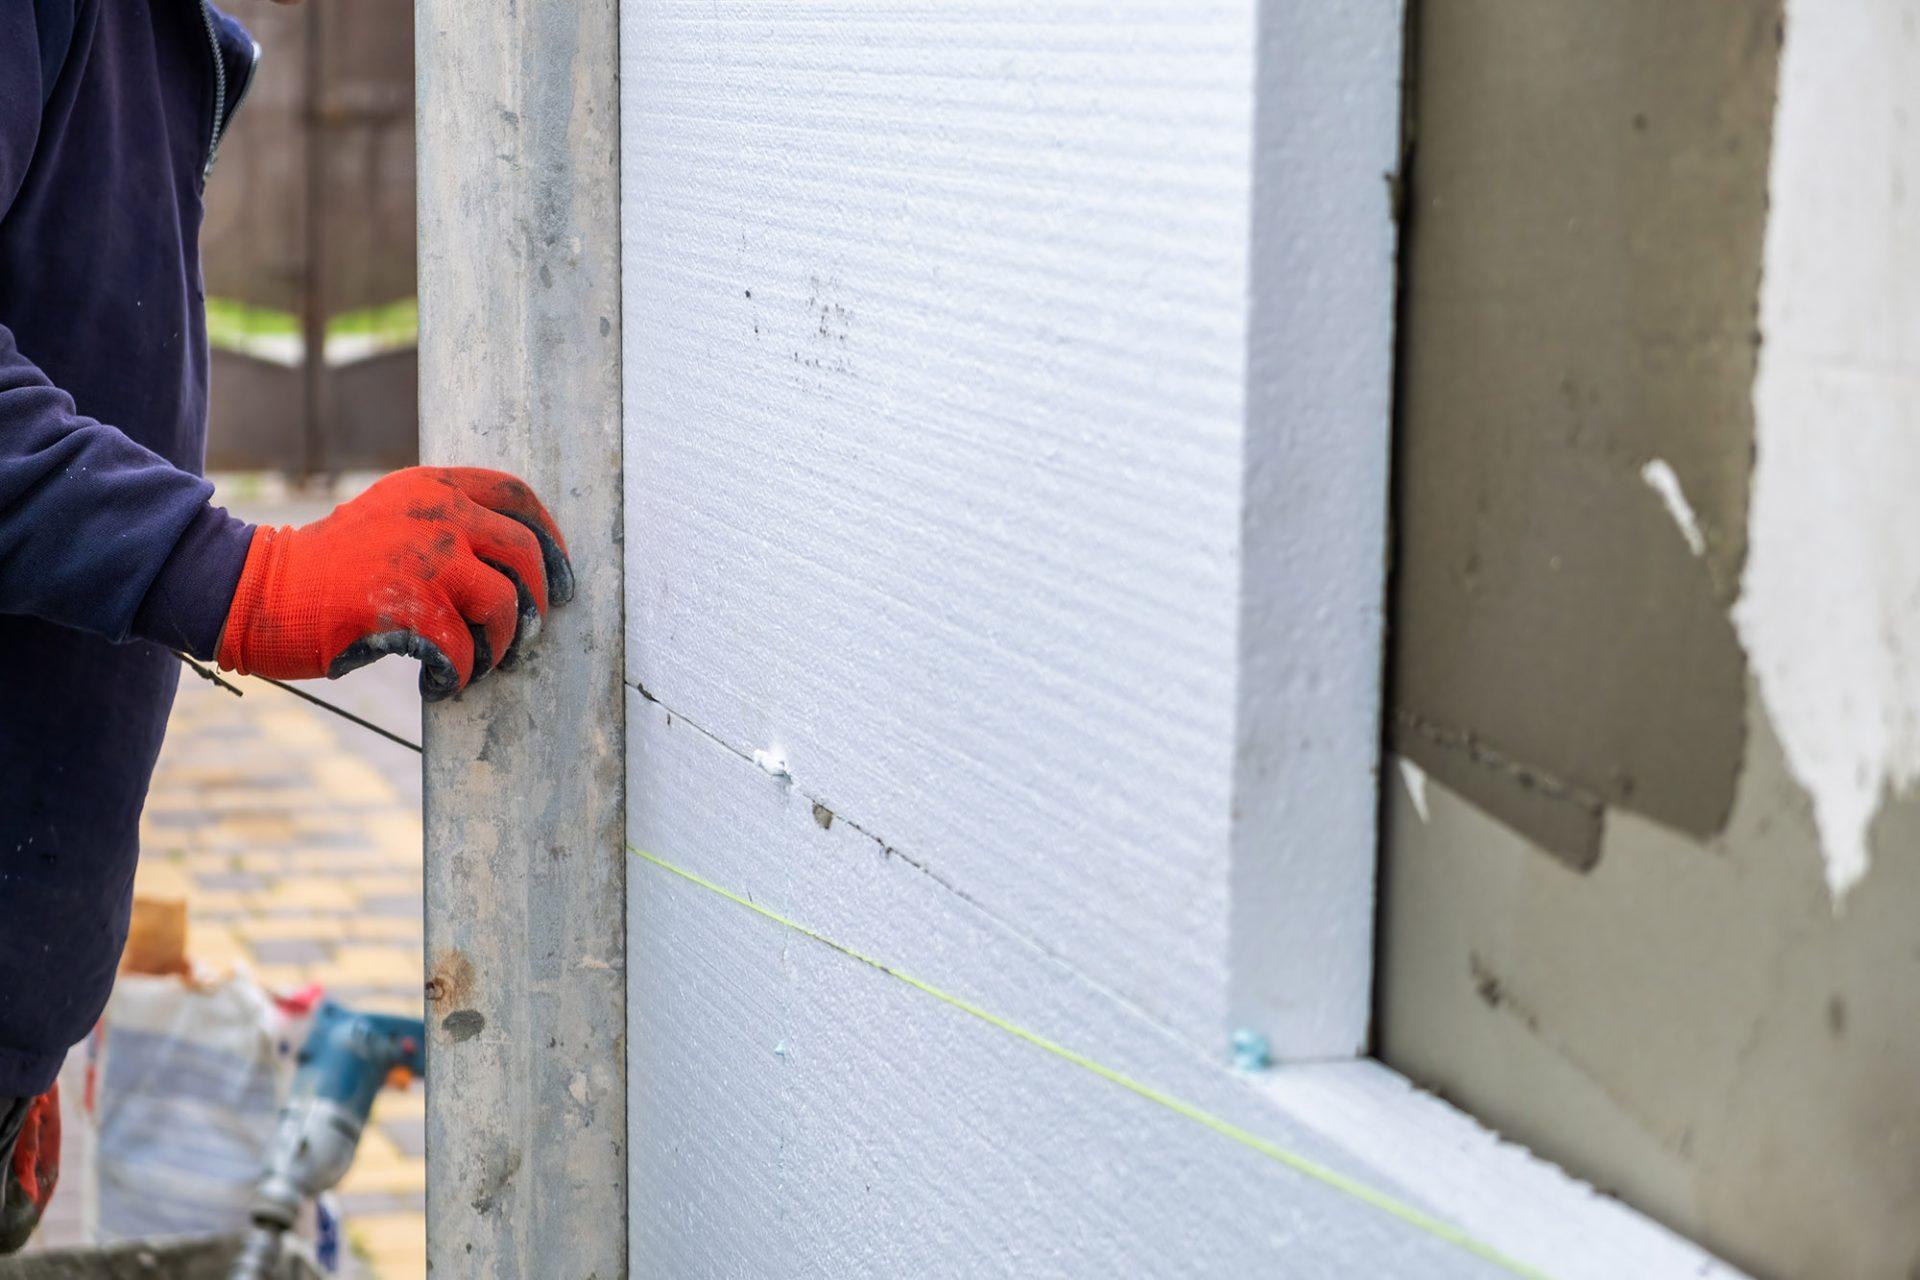
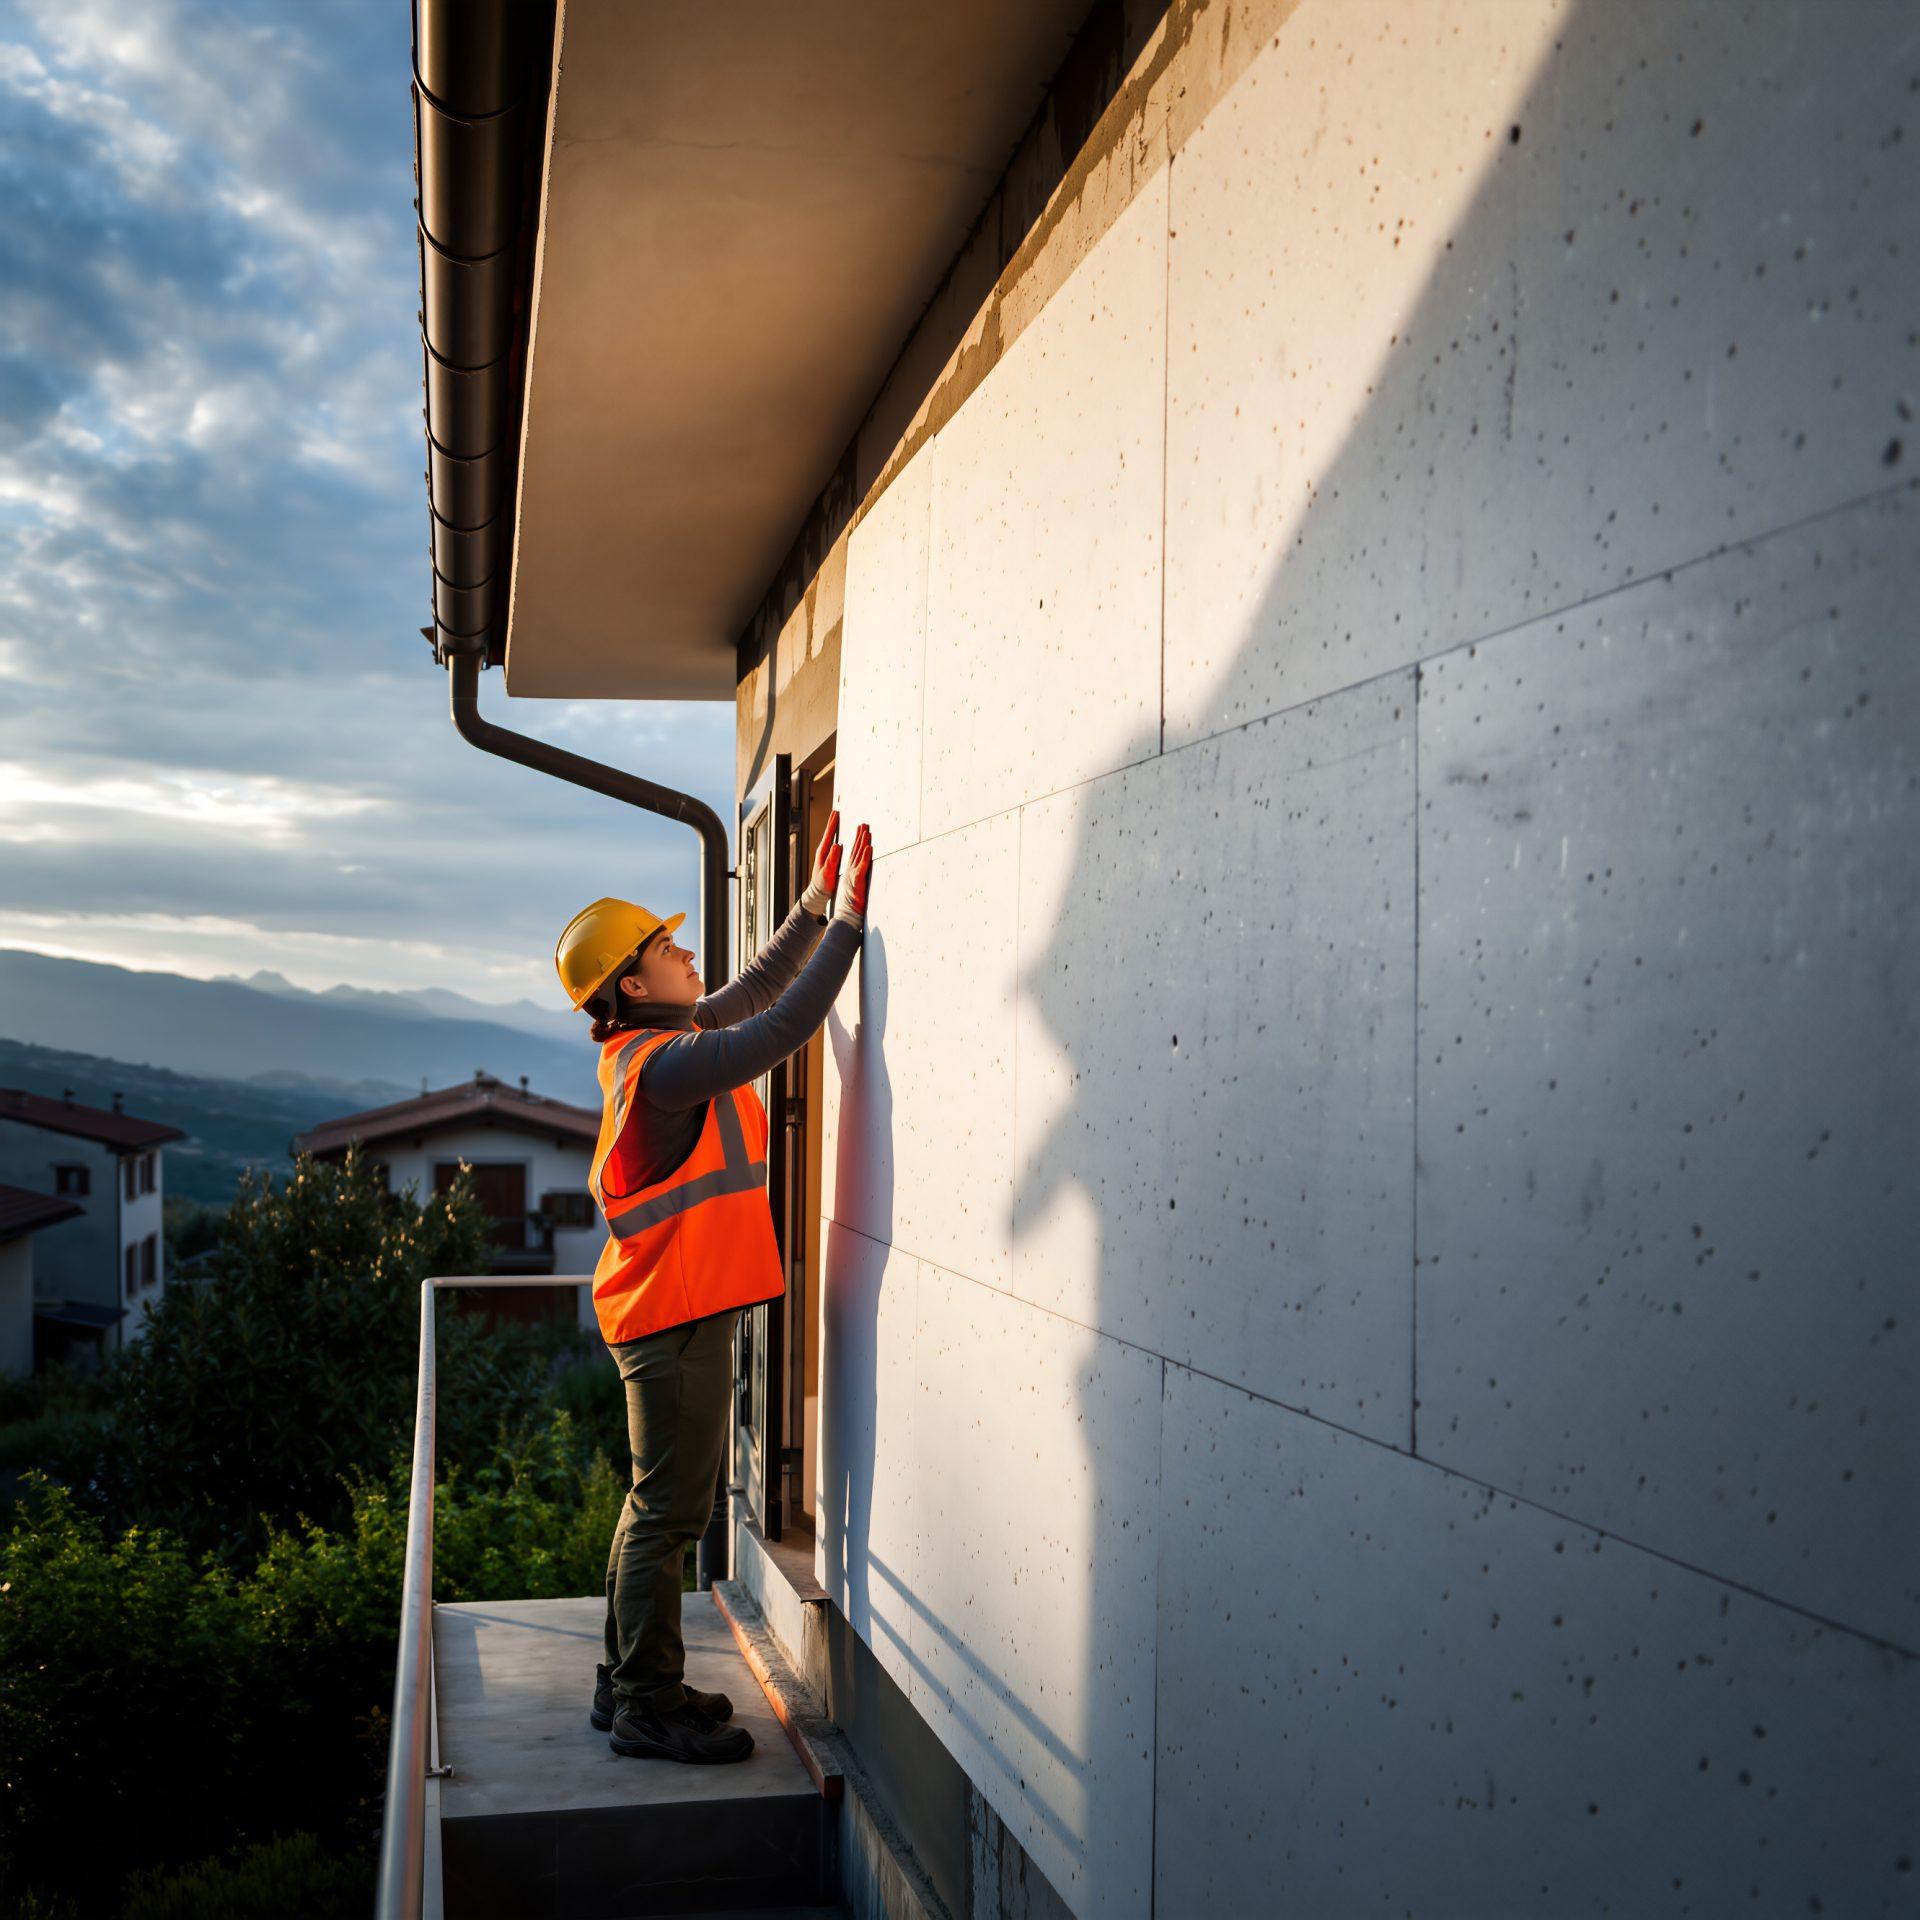
The insulation boards are bonded from bottom to top, in horizontal rows, with staggered joints and interlocked at the corners. The adhesive mortar is applied either as a full-surface coat using a notched trowel (on a flat substrate), or as a perimeter bead with adhesive dots, ensuring at least 40 per cent of the surface area is bonded. Leave a gap of approximately 2 cm around the edge of the panel to prevent the adhesive from seeping into the joints.
• Fit the panels edge-to-edge; any open joints (≤ 10 mm) should be filled with strips of insulation or suitable PU foam
• Avoid positioning a panel joint in line with a window corner: cut the panels into an ‘L’ shape around the window openings
• Check the panels are level with a straightedge as you go along
The adhesive mortar generally takes at least 16 hours (until the following day) to dry before the next stage of work can be carried out, depending on the weather.
Step 7: Fix the panels in place
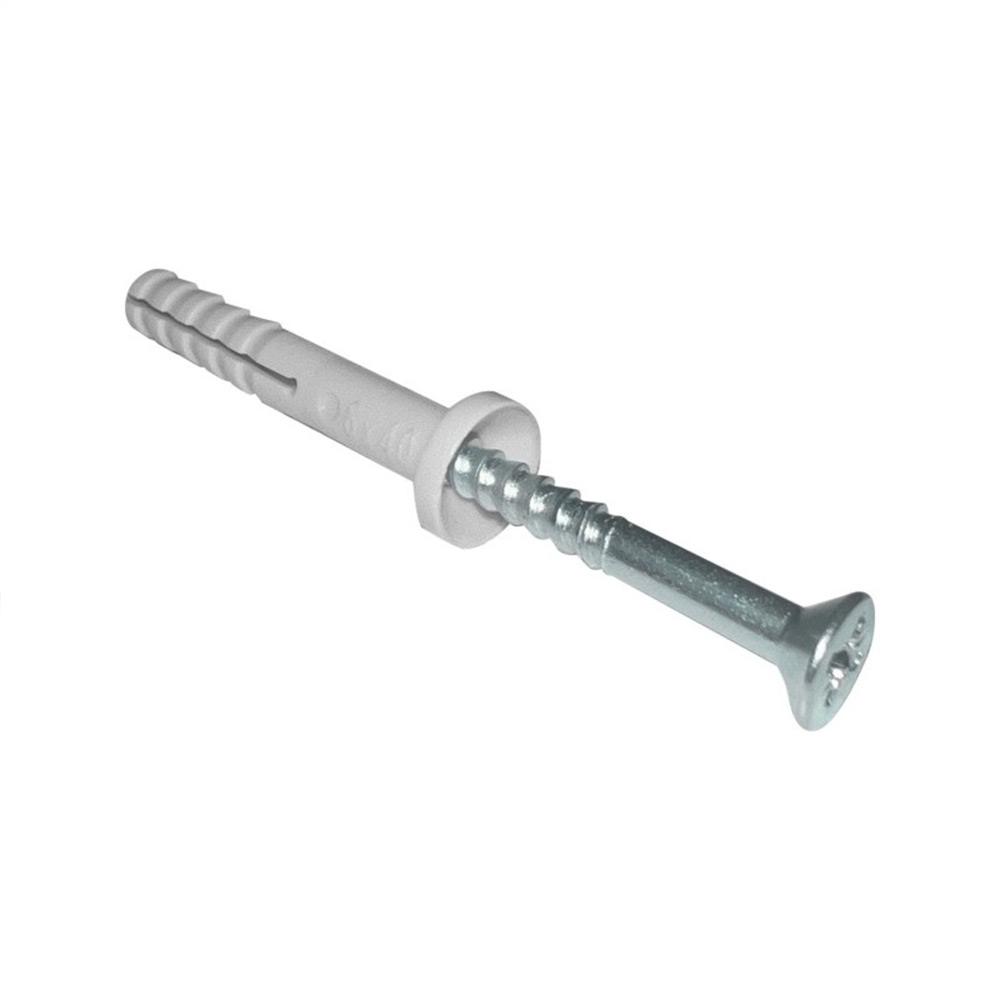
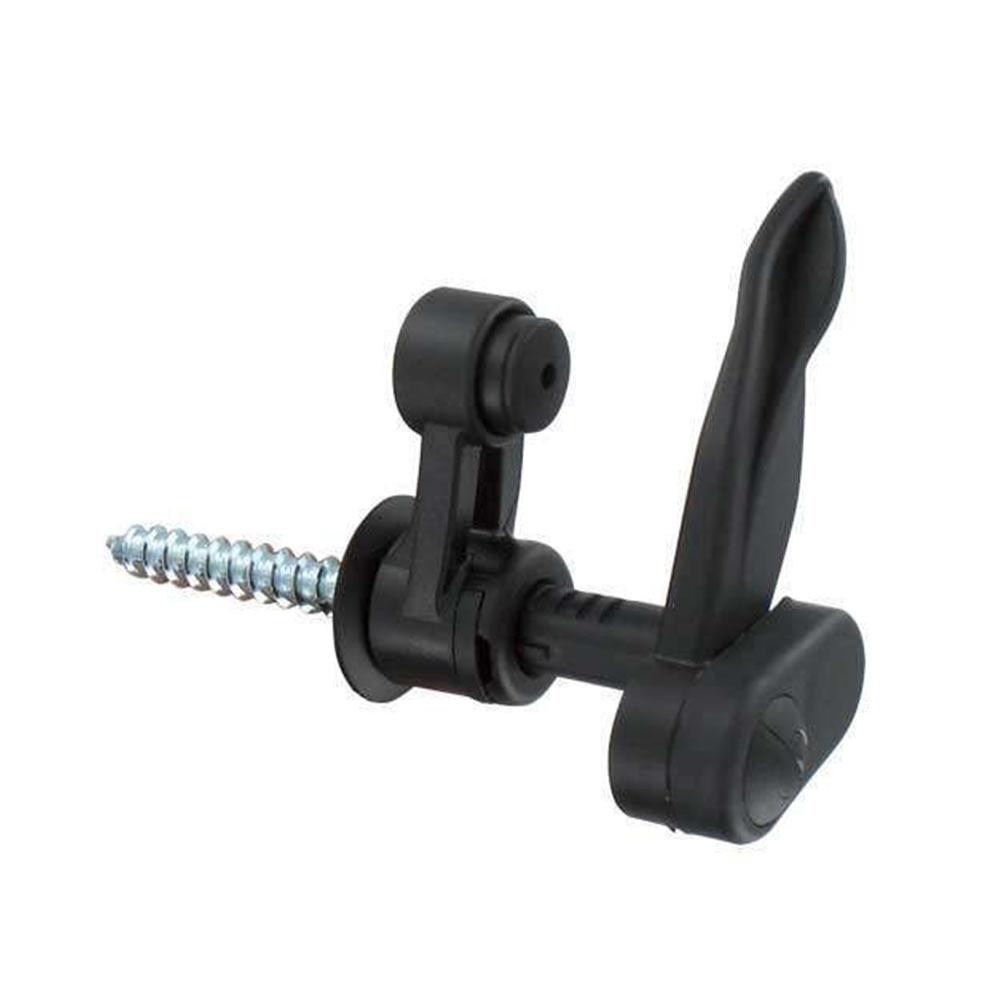
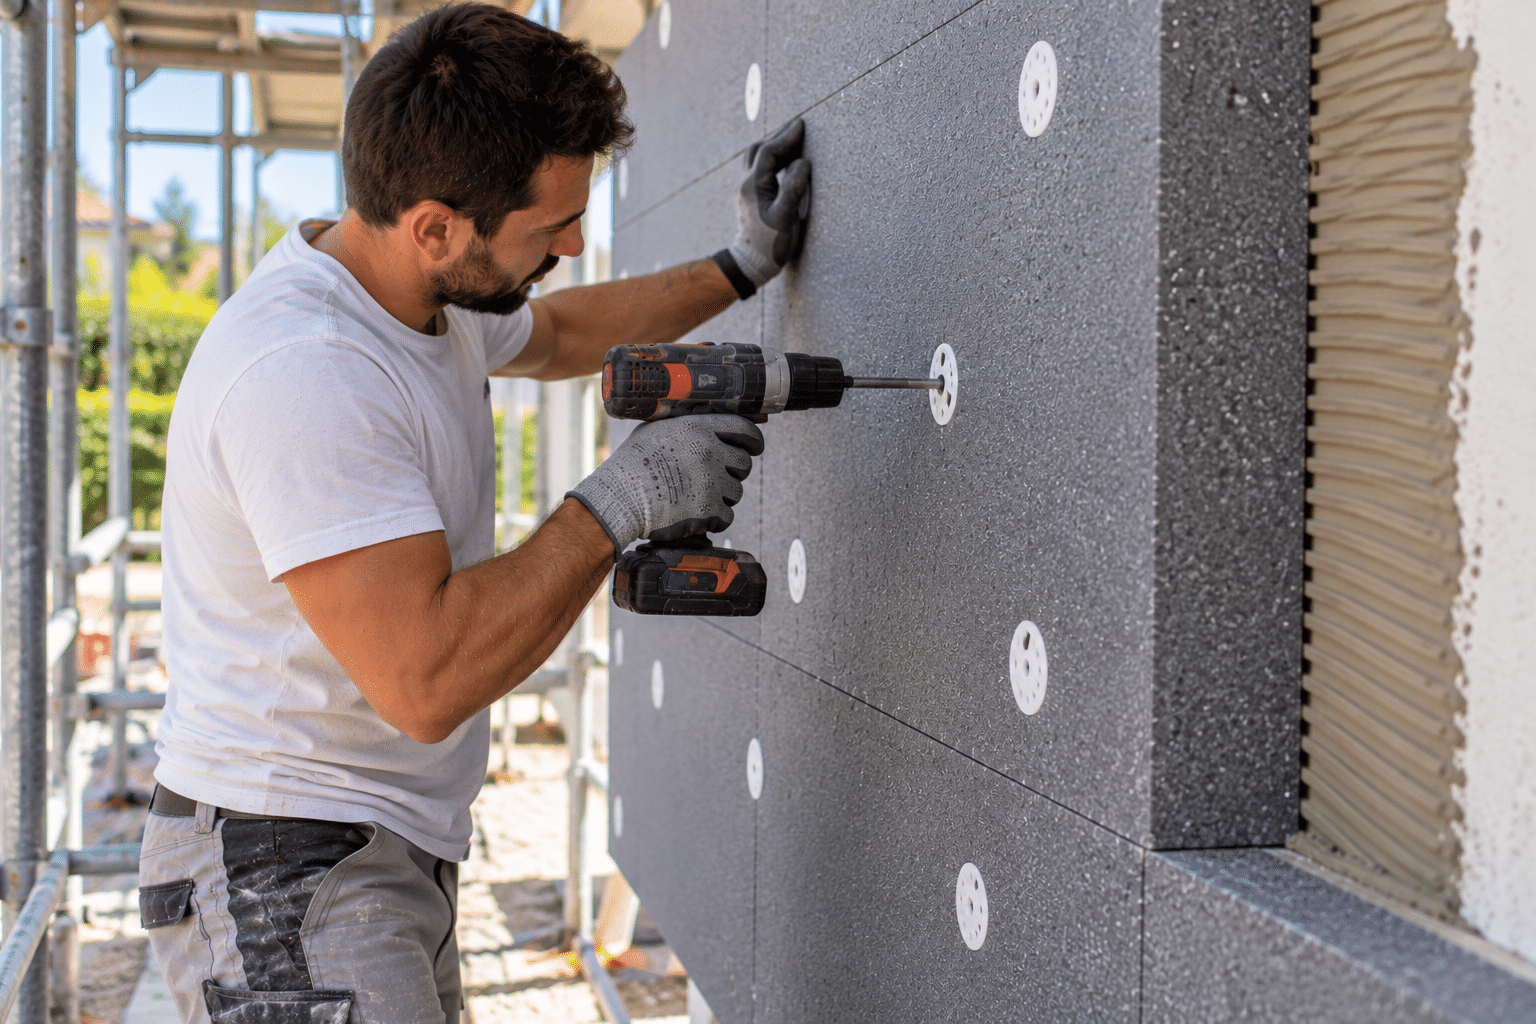
Anchor bolts mechanically secure the insulation to the wall, in addition to adhesive bonding, to withstand wind loads. For panels measuring 1,200 × 600 mm, Technical Approvals generally require at least 5 anchors per panel, i.e. approximately 7 anchors per m² on the main surface, with more required at the edges and in areas exposed to the wind
.• The length of the anchor = thickness of the insulation + adhesive layer + any existing render + depth of anchorage in the substrate
• The type of anchor (hammer-in or screw-in) depends on the substrate: concrete, solid brick, hollow brick, aerated concrete, etc.
• Do not place any wall plugs within 15 cm of the edge of a panel; the head should be flush or recessed with an insulating washer
• Fix the anchors once the adhesive has set
Step 8: dealing with specific issues
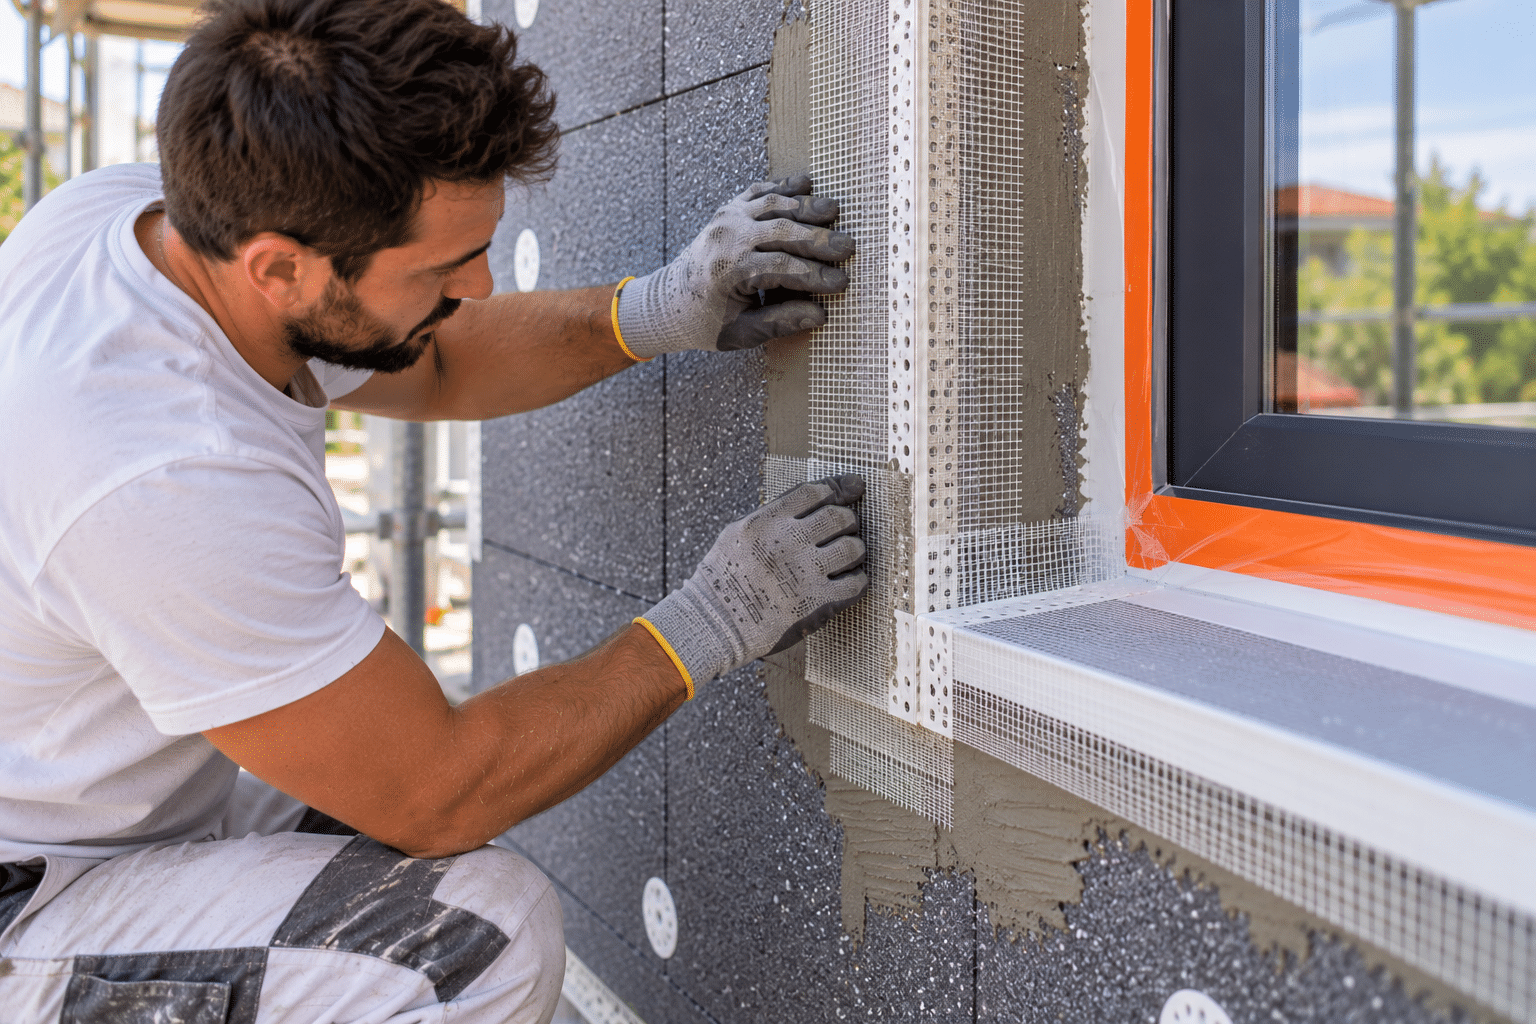
Critical areas (corners, window reveals, window sills, roof edges, duct penetrations) are where the risk of cracks and water ingress is highest: these must be treated before applying the base coat.
• Projecting corners: corner profiles with integrated mesh
• Lintels and soffits: drip mouldings to prevent water running down
• Junctions with joinery: connection profiles or sealing strips
• Window and door openings: diagonal mesh reinforcements (‘handkerchiefs’)
• Window sills: drip edges or fitted sills extending beyond the insulation
Step 9: applying the reinforced base coat
The reinforced base coat is the layer that protects the insulation and provides the EWI with its mechanical strength: it consists of a base coat and a fibreglass mesh embedded in its outer third. On EPS, the panels are first sanded to remove any unevenness.
1. Apply a first coat of undercoat using a notched trowel
2. Press the mesh into the fresh render, working from top to bottom, ensuring the strips overlap by at least 10 cm
3. Apply a second coat to completely cover the mesh (wet-on-wet or after drying, depending on the product)
The minimum thickness of the reinforced base coat, once dry, is approximately 4.5 to 5 mm, depending on the system. Generally, wait 24 hours before proceeding to the next stage.
Step 10: apply the primer and finishing render
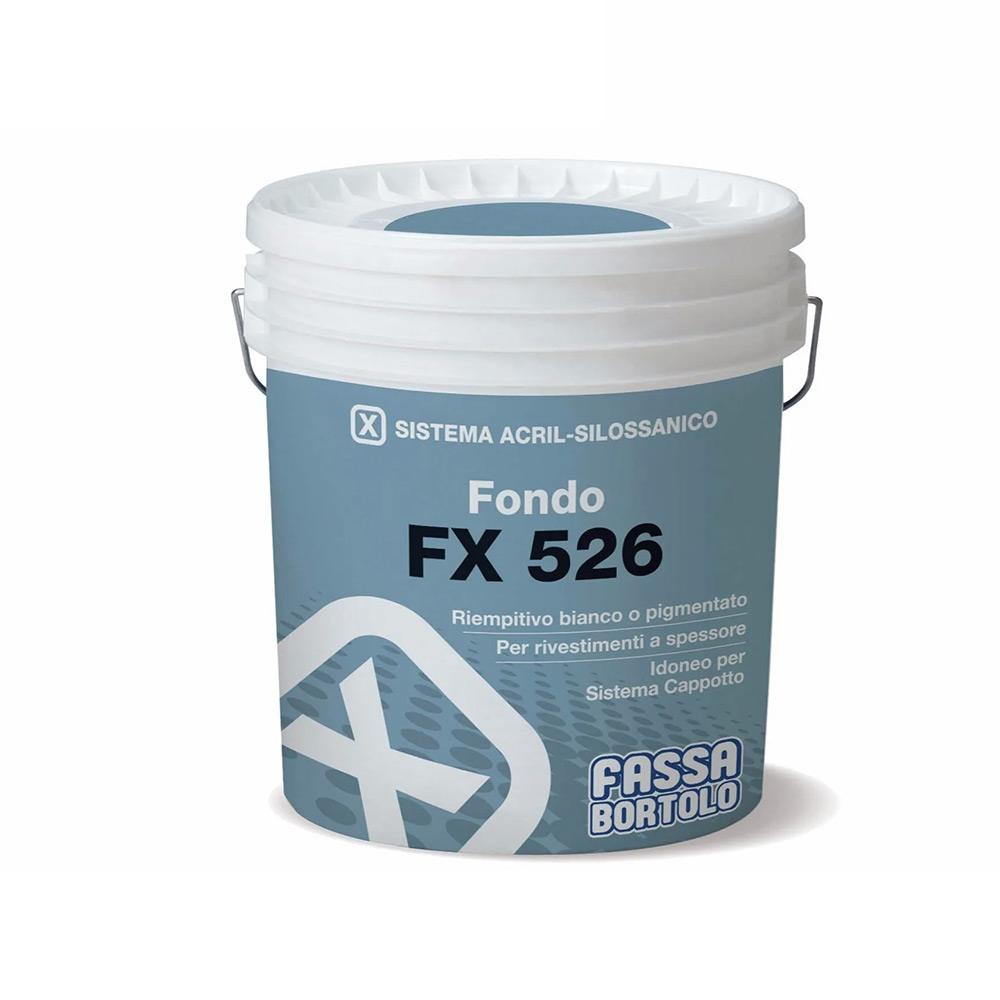
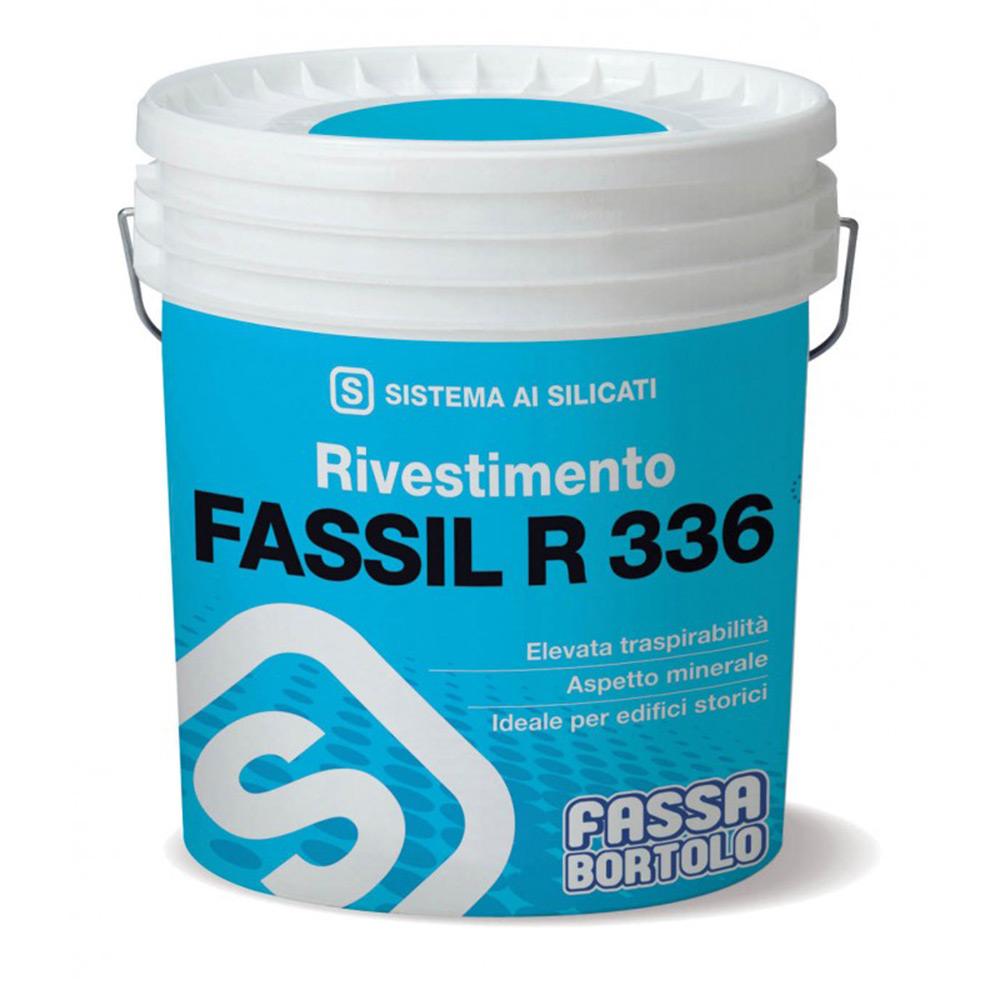
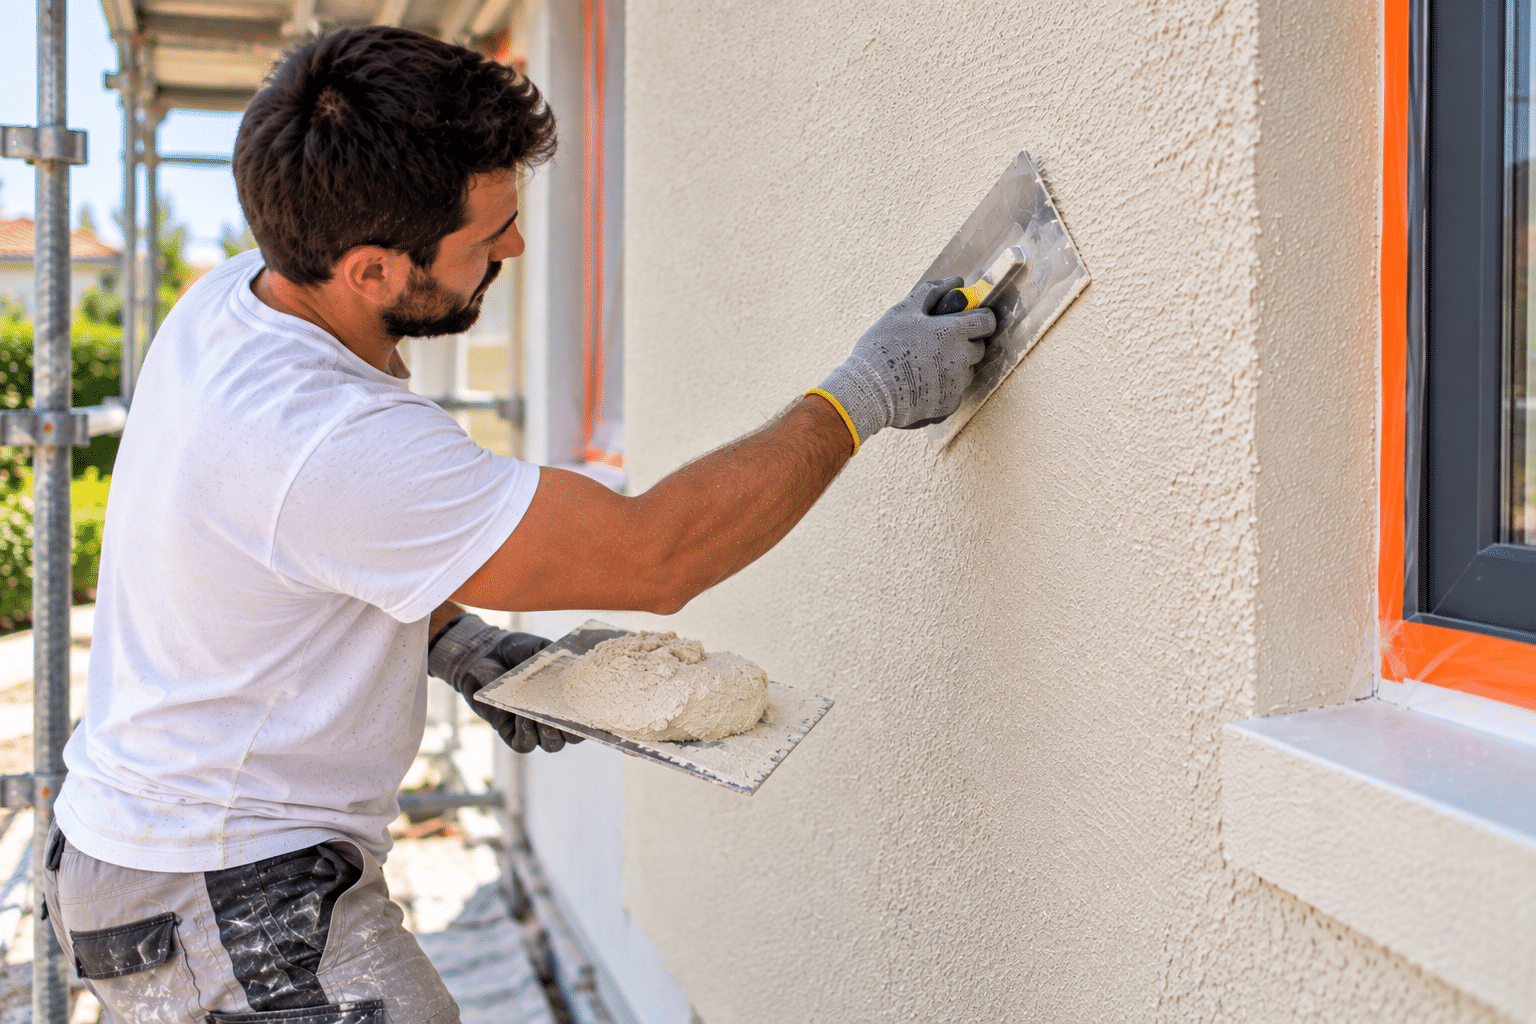
The finish protects the façade from the elements and gives it its final appearance: it consists of a primer followed by a finishing render (or façade paint). The primer, which is often tinted, regulates absorption and improves adhesion; its drying time varies from 2 to 16 hours depending on the product.
The finishing render is applied with a stainless-steel trowel and then textured using a plastic trowel (ribbed, trowelled, scraped, etc.). To avoid colour variations, the same batch of render is used for each façade, and each façade is worked on in one continuous session.
When should external thermal insulation (ETI) be carried out, and how long does it take?
ETI is ideally installed in spring or early autumn, at temperatures between +5 °C and around +30 °C, when there is no rain, frost, strong wind or direct sunlight on the façade. Certain finishes require a minimum temperature of +8 °C to +10 °C. Below these temperatures, the setting of mortars is slowed down and frost can damage fresh render. For a detached house, allow an average of [2 to 4 weeks] for the work, depending on the surface area, the number of openings, the weather and the drying times between each coat.
* Approximate values taken from Technical Approvals; always refer to the technical data sheet for the product being used. In cold and damp weather, drying may take several days.
Mistakes to avoid when installing EWI
• Mixing products from different systems that have not been approved for use together
• Applying adhesive to a dirty, damp or powdery surface without prior preparation
• Leaving gaps between panels (thermal bridges and cracks)
• Using anchors that are too small or unsuitable for the substrate
• Omitting mesh reinforcement at window corners
• Applying render in direct sunlight, in the rain or in freezing conditions
The stages of an EWI installation
All the materials you need for your EWI, at trade prices, at Centrale ITE
Insulation materials, adhesives, wall plugs, profiles, mesh and render: Centrale ITE brings together all the components of an external thermal insulation system, at trade prices for both private individuals and professionals. Our advisers will help you put together your system and calculate the quantities you need. Delivery available in France, Belgium and Switzerland.